Mailing labels can be printed or exported from any contact list or from the Mailing Labels form, with options to filter contacts, choose label types, select which name format to use, and skip positions on partially used label sheets. Labels can also be customized by adjusting font settings before printing or exporting.
Locations:
From any Contact List (recommended): Use this option from any of the contact lists to quickly apply any filters, then select one or more contact to print a label for.
From the Mailing Labels Dialog: Use this option to select from available filters or to print a full page of the same label.
From the List Builder: Use this option to print labels from a previously saved group of contacts in the List Builder.
From any Contact List (recommended)
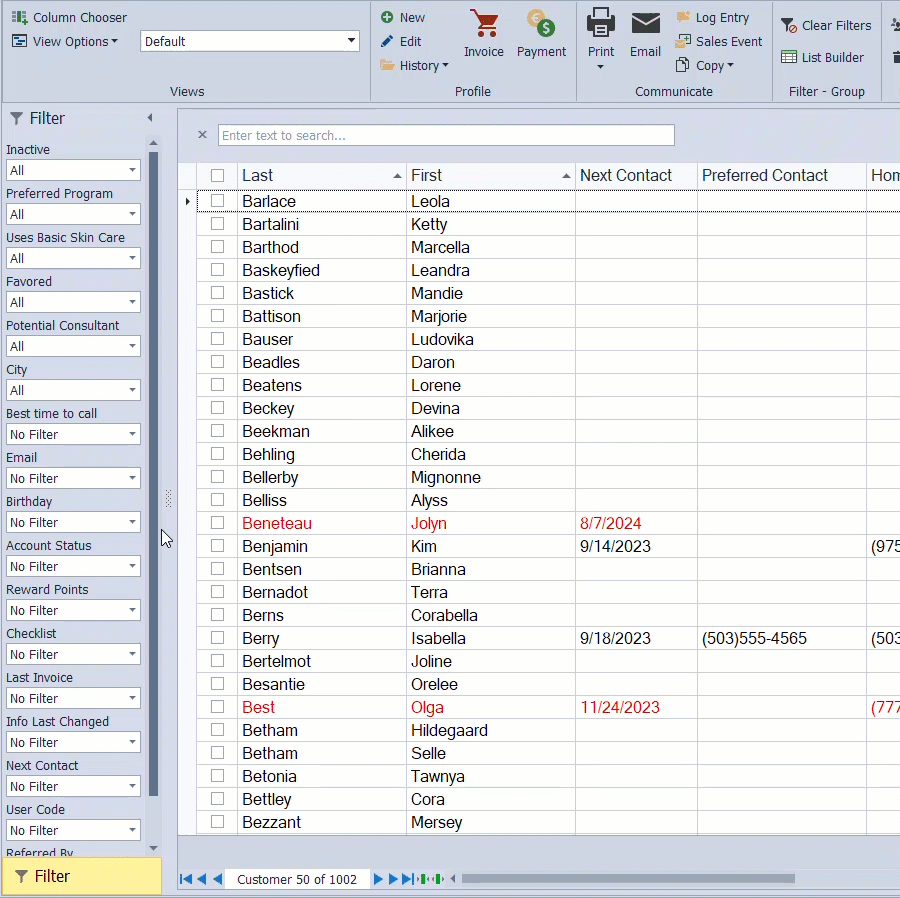
- Use the filters from any contact list toolbar to drill down and view the desired contacts if necessary.
- Select the checkbox next to each contact, or click the column header to select all the names shown.
- From the toolbar, click
 Print and choose Mailing Labels or Single Label (if using a Dymo printer).
 - From the Mailing Label Options form, select the label from the Label Types list (you can also choose between Primary, Spouse, or Family name from the Use Name drop-down list).
- If printing to a partially used sheet of labels, select the number of labels to skip from the top.
- Click Font... if you want to change the font used; otherwise, click OK to print.
- From the preview window, click
 to print (or
  to export as a pdf or other file format).
From the Mailing Labels Form
Use this option to print labels for contacts from multiple lists (select Everyone from the Which List section) or save the contacts to a custom group for future use; see Create, Edit or Delete a List from the List Builder first.
From the Business Tools menu, select Mailings, then Labels.
- Select the desired list from under the Which List section.
- From the Label Type section, select the type of label being printed on.
- Select additional filtering criteria under the first Filter drop-down.
- Decide which name will be displayed on the labels under the Using Name section.
- If printing to a partially used sheet of labels, select the number of labels to skip from the top.
- Click Font if you want to change the font used; otherwise, click Print.
- From the preview window, click to print (or to export as a pdf or other file format).
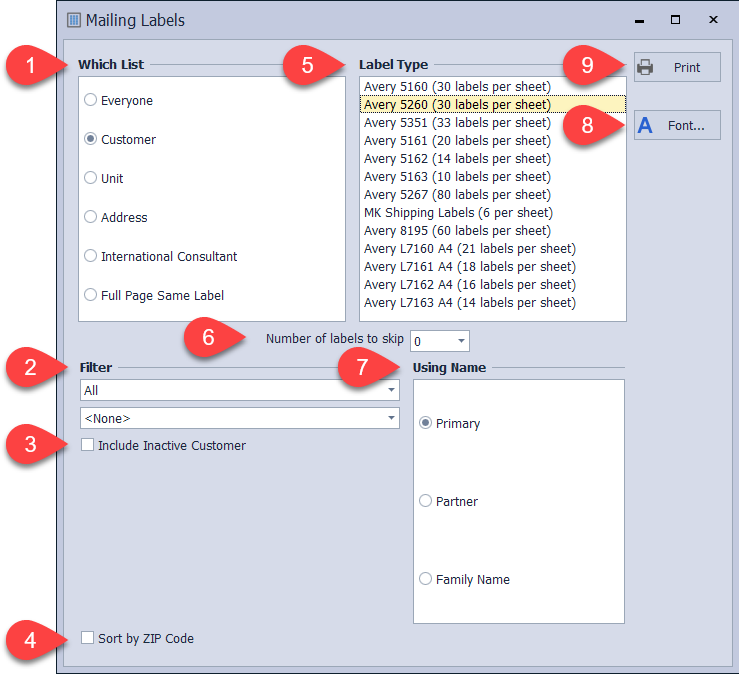
- (1) Which List: The default contact list selected is Customer. Choose the type of contact (which contact list they are saved to) or Full Page Same Label (Full Page Same Label can be used to create your return address or a special label such as a discount or upcoming promotion).
- (2) Filter: The default filter for lists is All.
- (3) Include Inactive Customers: Additional filter option applicable with Everyone and Customer List.
- (4) Sort by Zip/Postal Code: Additional option to display contacts by Zip/Postal code.
- (5) Label Type: Choose the Avery or MK Shipping Label you're printing on.
- (6) Number of labels to skip: Select the number of labels that will be skipped at the top of your label sheet.
- (7) Using Name: Choose from Primary, Partner, or Family name to be printed.
- (8) Font: Customize the font type, weight, size, and effects.
- (9) Print: A preview of the labels to view the contacts and font before printing.
From the List Builder
See Working with a List in the List Builder for detailed steps.