Combining past transactions allows you to quickly catch up by recording the combined totals for each expense category instead of entering individual transactions. This method focuses on high‑level accuracy, so the Summary of Expenses report is correct for year‑end tax reporting. Even though expenses are entered as totals, all original receipts and supporting documentation should be retained for tax and audit purposes.
If you are not trying to enter several months or more of expense entries, or would like to add each entry separately, see Add or Delete an Expense Entry instead.
Step 1: Organizing Your Receipts
- Begin by grouping the receipts by month. If any are recurring, you can exclude them from the steps below and instead enter them as recurring entries. See Create, Edit, or Delete a Recurring Expense for detailed steps.
- When finished, sort each month into the applicable expense categories (please refer to your accountant for help with this).
- Using a calculator, add each category for each month.
Step 2: Creating Expense Entries
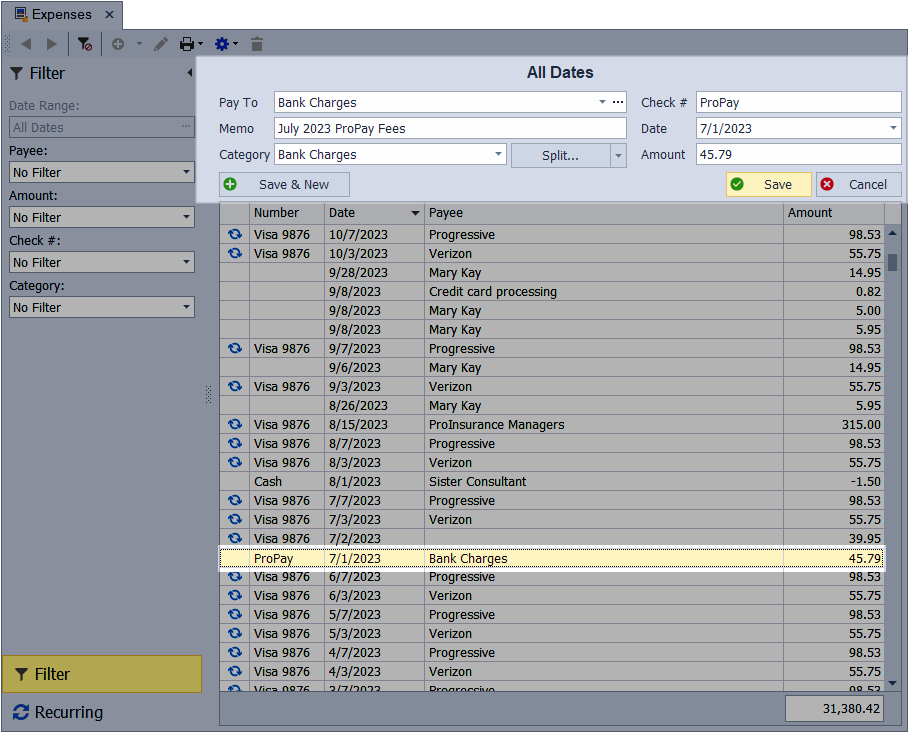
From the main toolbar, select  Expenses (or from the Business Tools menu, select Expenses).
Tip: To view a running list of the entries from the Filter sidebar, set the Date Range to include the corresponding month of the items being entered.
- From the toolbar, select the new button
 .
. - In the Pay To field, enter the category name assigned to the expenses.
- In the Memo field, enter the month the expenses occurred; for example, July 2023 ProPay Fees.
- From the Category field drop-down list, choose the appropriate category.
- If the same payment method was used for all entries, enter it in the Check # field; otherwise, leave it blank.
- In the Date field, enter a date within the month you are recording (such as 7/1/2023 for the entire month of July).
- Enter the amount calculated from the steps above in the Amount field.
- Click Save & New and repeat the steps until you finish entering all expenses.