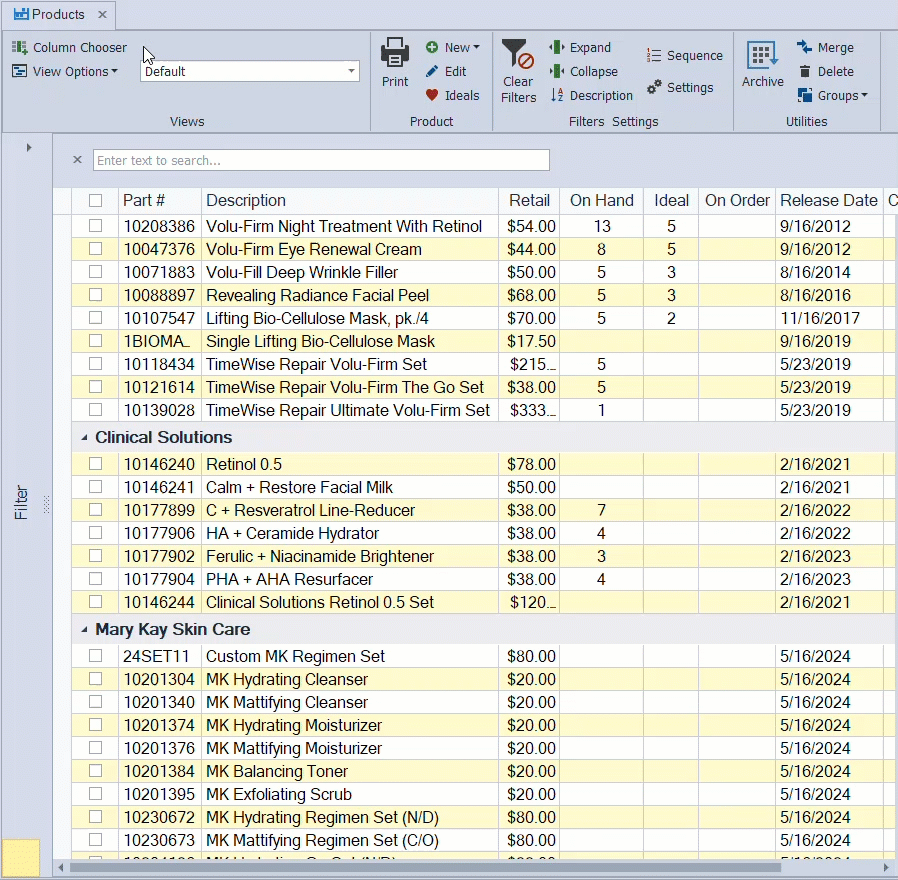
Columns on the Product List can be customized by adding fields through the Column Chooser, rearranging columns by dragging their headers, or hiding fields you do not want displayed. The list can be reset to its original layout at any time, providing flexibility for viewing, printing, and organizing product information.
Options:
From the main toolbar, select  Inventory (or from the Product menu, select Product List).
Add a Column
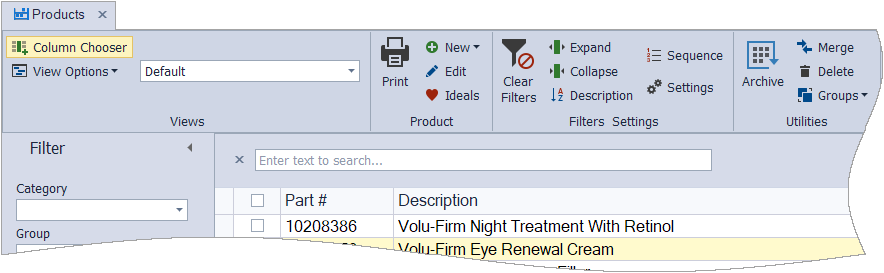
Additional product profile fields can be added as columns to the product list. From the toolbar, click  Column Chooser. From the Customization pop-up, drag and drop a column in the column header area of the product list.
Move a Column
Columns can be arranged in any order. Click and hold onto the column header. White arrows will appear above and below the column header. Drag the column header to the desired location (click  View Options, then select
  Reset to return to the default layout).
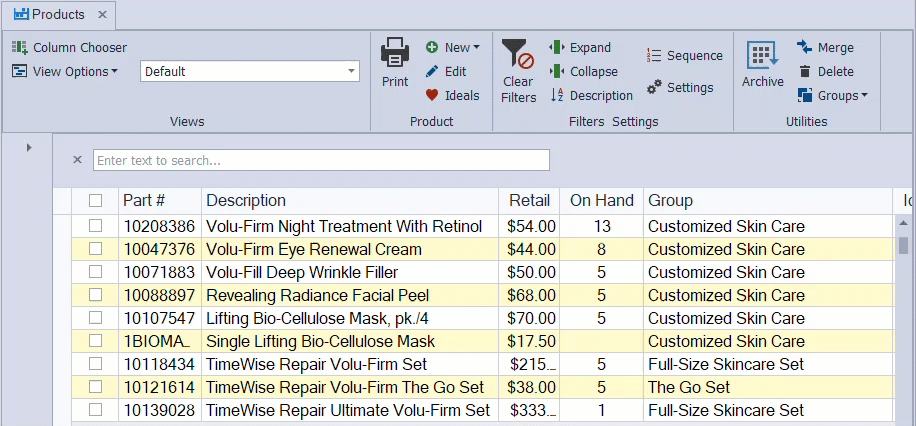
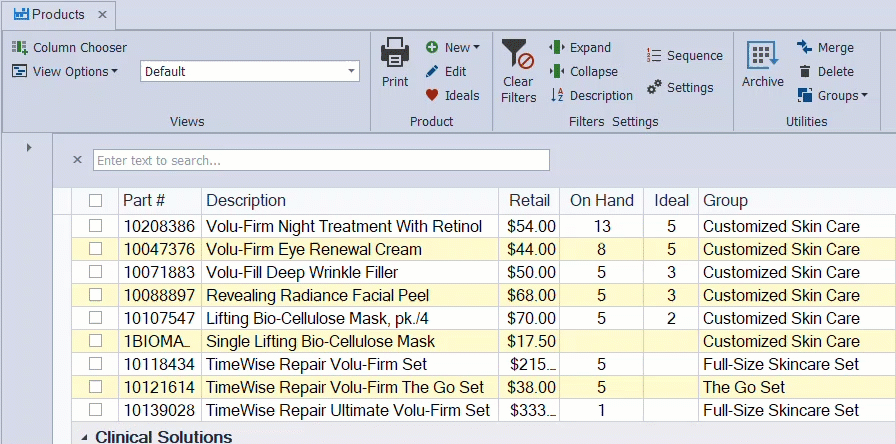
Hide a Column
Columns can be hidden by right-clicking on the column header and selecting Hide This Column (click View Options, then select Reset to return to the default layout).
Additional Options:
- To print, from the toolbar, click
 Print, then from the preview window, click
  to print (or
  to export as a pdf).
 - To clear any filters set, click
 Clear Filters.
 - To reset the current view to its original format, click View Options, then select Reset.
- Print Inventory & Make Adjustments