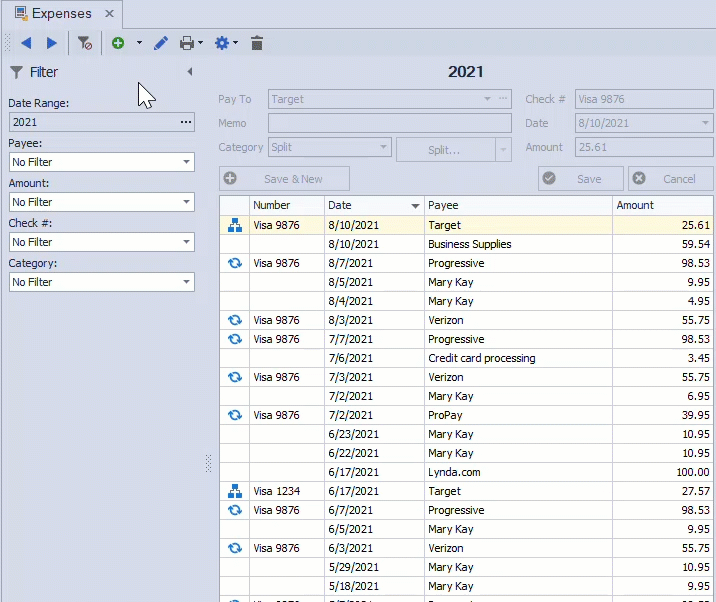
The Split Expense feature lets you record a single receipt across multiple categories by entering the total amount, selecting Split, and assigning each portion to its own category and memo line. A split may also be cleared by choosing Clear next to the Split button before saving the entry, allowing the transaction to be recorded under a single category instead.
For example, when printing documents or flyers for advertising and purchasing pens and folders as office supplies.
From the main toolbar, select  Expenses (or from the Business Tools menu, select Expenses).
Options:

Split a New Expense
- Click the add button
 to create a new entry.
 - Enter applicable information such as Pay To, Check #, Date, and the total amount of the expense, in the Amount field.
- Click the Split... button to create an entry that includes multiple categories.
- On the first row in the Split Expense grid, select the first category in the Category field. Enter notes about that portion of the transaction in the Memo field if desired.
- In the Amount field, type the transaction amount for that category.
- Repeat the previous two steps, adding new rows as necessary until you've split out the entire transaction amount.
- When finished, click OK to save and close the form, then click Save to finish saving the transaction.

Clear a Split
- Click the add button to create a new entry.
- After entering the Pay To information, next to the Split button, click the arrow button
 and choose Clear.
 - Continue entering other applicable Memo, Category, Check #, Date, and Amount.
- When finished, click Save.