Custom views can be created by selecting New from the View Options menu, choosing a template, and then adding or arranging fields as needed. Views may be printed, reset, or deleted when no longer needed, and additional fields can be added to tailor the layout for reporting or organizing information across the contact lists, the product list, or Invoice Log.
Views can be filtered and printed as a report or used to create a List Builder list and send individual and group email messages. You can also import additional views or create a new view following the steps below.
Options:
Print, Delete, or Reset a View
Create a View
- Open the applicable list (Customer, Address, Unit, or Product list).
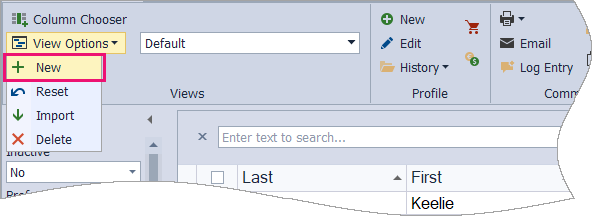
- From the toolbar, click
 View Options, then select
  New.
New. - Give the new view a description in the Name field.
- Decide which template to base the new view on, then click OK.
- The newly created view will now be displayed and accessed anytime from the drop-down.
- To customize it, see Add, Move, or Hide Columns on Contact Lists or Product List.

Print, Delete, or Reset a View
After selecting the applicable view from the drop-down, on the toolbar, click  Print, then select View. From the preview window, click
  to print (or
  to export as a pdf).
Delete
An imported or created view can be deleted when no longer needed.
From the drop-down, select the view. Click View Options, then select  Delete. Click Yes to confirm.
Reset
Default views cannot be permanently deleted but can be reset to their original state.
From the drop-down, select the view. Click View Options, then select  Reset. Click Yes to confirm.
Additional Information:
- Add, Move, or Hide Columns from a Contact List, Product List, or List Builder.
- Import Additional Product List Views
- Import a View for Reports, Labels, & More
- Import Additional Unit Views