Exchanging products updates inventory by removing one item and adding another in a single transaction, since an exchange is treated as a loan and a borrow at the same time. Exchanges are recorded under the contact involved, ensuring inventory stays accurate and reflecting any items given or received during the exchange.
To exchange products, they need to be loaned and borrowed simultaneously; otherwise, one of the other methods should be used (Loan or Borrow, as shown in the diagram below).
Loan |
The product is being removed from your current inventory. | |
Borrow |
The product is being added to your current inventory. | |
Exchange |
Products are both being added and removed from your current inventory. |
From the Product menu, select Loan/Borrow & Exchanges.
- From the toolbar click
 Exchange.
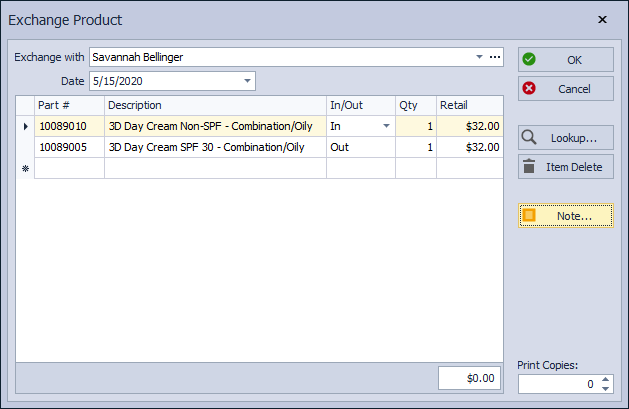
- From the Exchange with field, select the arrow
 to select a contact, or if you've never exchanged product with them, type their name in the field.
 - If necessary, change the date from the Date field.
- Add an item by typing a partial part number or description of the item in the Description field. The Part # field can be used as well, but the exact part number must be used. Alternatively, click Lookup to search for the item.
- For each row added, using the table from above as a reference, select either In or Out.
- Optionally, click Note to add a note, and in the Print Copies field, enter the number of copies you'd like printed.
- Ensure that there is not a retail variance (total is 0.00), then click OK to process the exchange.
Tip: If there is a retail variance, the difference can then be added as an entry in expenses.