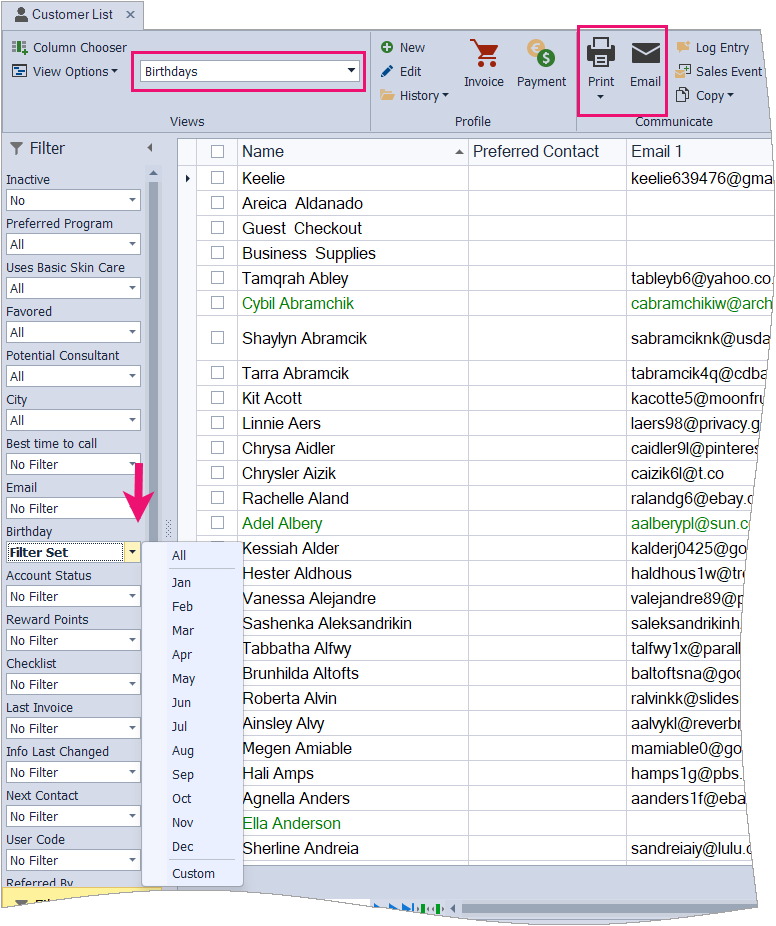
Upcoming birthdays can be viewed and used to print reports, create mailing labels, or send email messages by selecting the Birthday view from the contact list tools.
Note: The Birthday field on the Main tab of the contact profile is used to filter contacts by birth month while ignoring the year.
Options:
Send a Personalized Group Email
Filter for Birthdays
- Access the Birthdays view from any contact list toolbars by selecting Birthdays from the drop-down menu on the toolbar.
- From the Filter sidebar, under the Birthday drop-down, select a month (or select Custom to enter a custom date range).
- Continue with the steps below to print as a report, mailing labels, or send a group email.
Print a Report
- After filtering for birthdays, to print as a report, from the toolbar, select
 Print, then choose View.
 - From the preview window, click
 to print (or
  to export as a pdf).
 - When finished, to remove the filter set, click
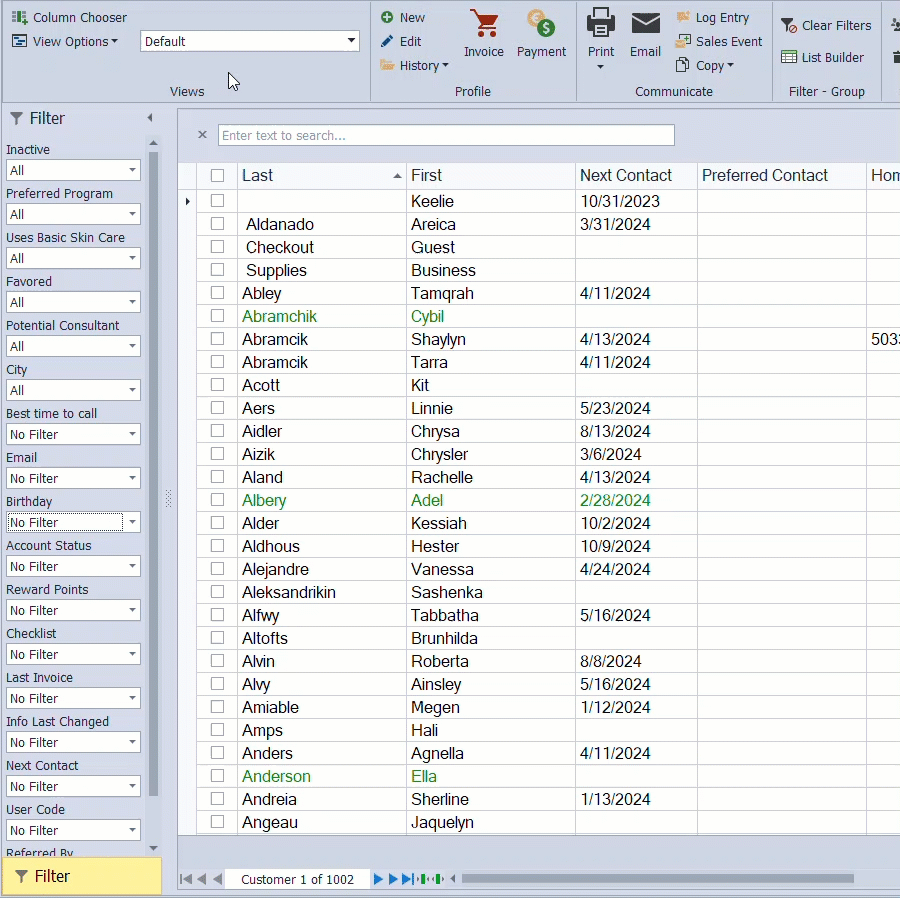
 Clear Filters, then from the View drop-down, select the Default view (skip this step if you will be printing mailing labels or sending an email).
Tip: Before printing, Right-click on any column header and choose Best Fit (all columns) to adjust the column widths automatically. Or, to hide any columns, right-click on the column header and select Hide This Column. To add additional fields to the view, see Add, Move, or Hide Columns on the Contact Lists.
Print Mailing Labels
- After filtering for birthdays, select the checkboxes next to the names to be selected (or the checkbox column header to select all).
- From the toolbar, select Print, then choose Mailing Labels (or Single Label if using a Dymo printer).
- From the Mailing Label Options form, select the label from the Label Types list (you can also choose between Primary, Spouse, or Family name from the Use Name drop-down list).
- If printing to a partially used sheet of labels, select the number of labels to skip from the top.
- Click the Font button to change the font used; otherwise, click OK to print.
- From the preview window, click to print (or to export as a pdf or other file format).
- When finished, to remove the filter set, click Clear Filters, then from the View drop-down, select the Default view (skip this step if you will be printing a report or sending an email).
Send a Personalized Group Email
Note: Before proceeding, ensure that your email settings have been added to Preferences.
- After filtering for birthdays, select Has Email from the Email filter in the filter sidebar, which limits the results to contacts with an address entered in the Email 1 field of Main tab on their profile.
- Click the checkboxes next to the names to be selected (or the checkbox column header to select all).
- From the toolbar, click
 to launch the message.
 - Include a Subject, then begin composing the message.
- Select the Insert Merge Field button
 from the New Message toolbar to insert personalized information from the recipient's contact profile. Fields added to the message will include this information for each contact after the email is sent. See Send a Personalized Group Email (Option 1) for more information.
 - If you would like a copy of each email sent, select the CC me option. Otherwise, click
 Send.
Send. - When finished, to remove the filter set, click Clear Filters, then from the View drop-down, select the Default view (skip this step if you will be printing a report or mailing labels).
If you use Boulevard's internal email feature, each recipient will be sent an individual email to protect their privacy. A record will also be added to the Contact Log tab of their profile indicating an email message was sent. To view a listing of all emails sent, see View Entries from the Contact Log.
Additional Information:
- You can also automatically apply a birthday discount to invoices during a contact's birthday month. Set the option and discount percent in Preferences.
- Not getting the results you expect? See Contact List Filters & Column Sort for more information about filters you may have applied and how to remove them.
- Birthday Images