Merging or reassigning part numbers removes duplicates by combining identical items and transferring all sales history, inventory amounts, and customer purchase records to the part number being kept. The older part number is removed after the merge, keeping product records accurate and ensuring reporting reflects the updated part number.
From the main toolbar, select  Inventory (or from the Product menu, select Product List).
- In the search field (also known as Find Panel) type a unique part of the description or part number of the item being eliminated.
- Select the item, then from the product list toolbar, click
 Merge.
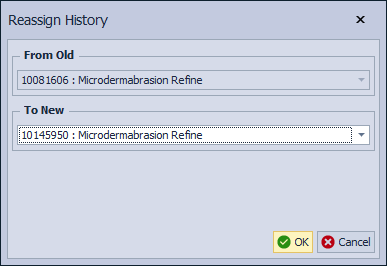
 - From the Reassign History screen, under To New, click in the field and type a unique part of the description or part number of the newer part number being merged into.
- Select the newer item being kept, then click OK.
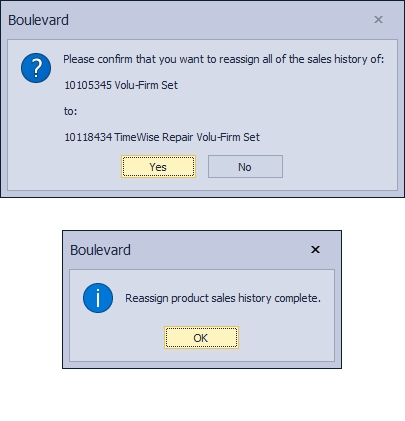
- Click Yes to confirm, and OK to acknowledge.